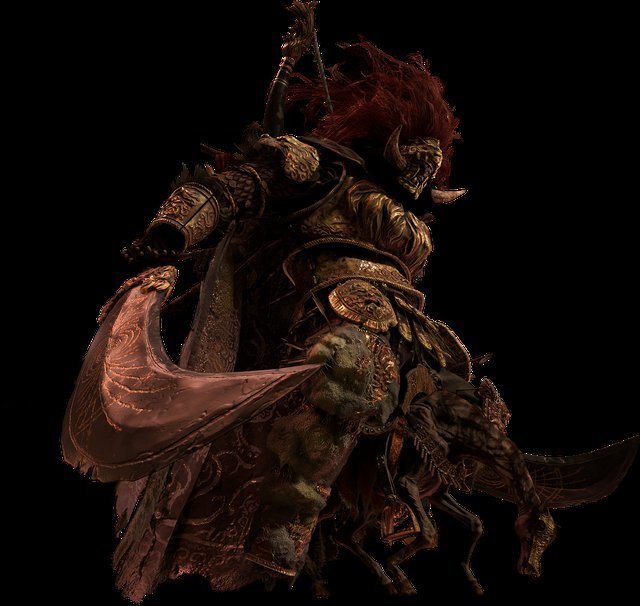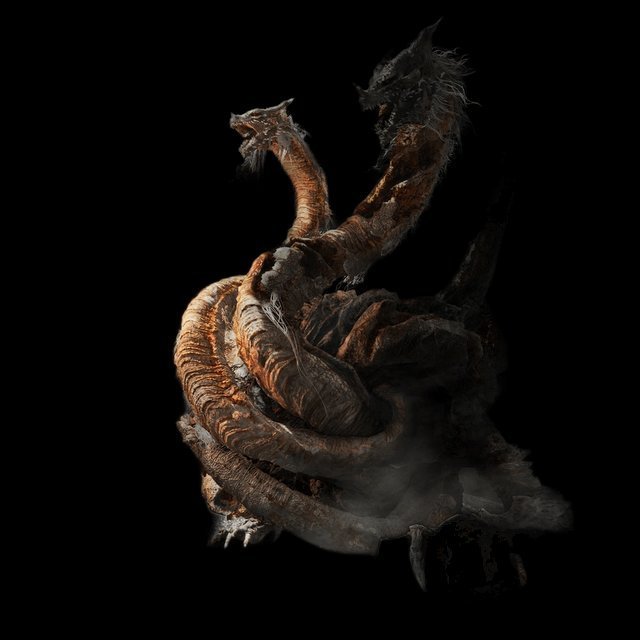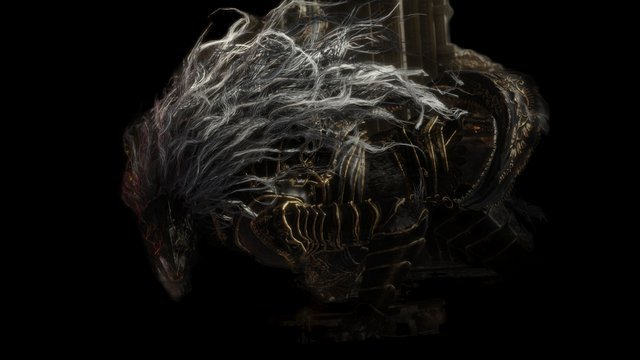
Phase 1: Beast Clergyman
The first phase of Maliketh's boss fight pits you against the Beast Clergyman, a fast-moving, aggressive opponent. He uses quick claw swipes, a projectile attack that throws yellow daggers, and a devastating area-of-effect explosion. Stay close to him to avoid the ranged attacks, and roll into his claw combos rather than away from them. He has a tell before his AOE — he raises his claw overhead and charges it. When you see this, sprint away immediately. The Elden Ring Fandom Wiki and Fextralife Maliketh guide cover all phase 1 dodge timings in detail.
Phase 2: Maliketh's Destined Death
At 50% HP, Maliketh reveals his true form, wielding the black blade of Destined Death. This phase reduces your maximum HP with every hit — the red HP bar cannot be recovered with flasks. His combos are longer and more deadly. The key to phase 2 is aggression: staying close forces him to use more punishable melee combos rather than his deadly ranged attacks. When he plunges his sword into the ground and creates a large AOE, run behind a pillar or use Vow of the Indomitable. For more on phase 2 strategies, Elden Ring's Wikipedia entry discusses the game's boss progression philosophy.
Recommended Equipment and Stats
Maximize holy damage negation for this fight. Equip the Haligdrake Talisman +2 (massive holy damage reduction), the Pearldrake Talisman +2, and use Lord's Divine Fortification or Golden Vow incantation. The Crimsonwhorl Bubbletear in your Physick converts all incoming damage to HP recovery for 15 seconds — this completely negates Destined Death's HP reduction. For weapons, use anything with high poise damage: Greatswords, Hammers, or Colossal Weapons. Maliketh has low poise, so two charged heavies or one jumping attack can often stagger him.
Best Spirit Ash and Summons
Black Knife Tiche +10 is the top choice for this fight — her high mobility and HP-reducing skill keep pressure on Maliketh while avoiding his attacks. Mimic Tear +10 also works well, especially if you equip a Blasphemous Blade for the healing weapon art. If using Spirit Ashes, equip the Shabiri's Woe talisman at the start to direct initial aggro to your summon, then swap it off. For co-op, players with Fingerprint Stone Shield and a spear can tank Maliketh while you focus on damage.
Boss Lore and Significance
Maliketh, also known as the Black Blade, was Queen Marika's shadowbound beast entrusted with Destined Death. He sealed the Rune of Death within his own flesh to prevent it from being stolen, but Marika's betrayal and the Night of the Black Knives forced him to guard it eternally. His tragic backstory — a loyal servant betrayed by his own god — makes him one of the most compelling characters in Elden Ring's lore. The black blade's ability to reduce maximum HP symbolizes the irreversible nature of true death in a world where most things merely return to the Erdtree. Check the Elden Ring wiki for deeper lore analysis.
Rewards from Maliketh
Defeating Maliketh rewards you with 220,000 runes, Maliketh's Great Rune, and the Remembrance of the Black Blade. His Great Rune reduces HP drain from all sources when active. The Remembrance can be exchanged for the Maliketh's Black Blade (a colossal greatsword with the Destined Death weapon art) or the Beast Claw incantation. The Black Blade's weapon art applies a %-based HP reduction on enemies, making it effective against bosses with massive HP pools. After defeating Maliketh, Crumbling Farum Azula changes permanently — the boss arena becomes accessible as a farming area and the path to the final boss opens.
Location and Boss Run-Back
Maliketh is found in Crumbling Farum Azula, accessible after the Fire Giant's defeat and kindling the Flame of Ruin. The Beside the Great Bridge grace is directly outside the boss arena, providing the shortest possible run-back of any endgame boss. From the grace, walk past the sleeping Beastman of Farum Azula, enter the church, and drop through the collapsed floor to reach the fog wall. Alternatively, from the Dragon Temple Lift grace, you can reach the arena through a longer route that includes a Sentinel Knight. The recommended level for Maliketh is 120-140 with a fully maxed weapon. Given the fight's difficulty, expect 10-30 attempts on your first playthrough. The short run-back makes repeated attempts less frustrating, and the area immediately outside the boss door contains no enemies that need to be defeated.
Before entering Maliketh's arena, complete all side activities in Farum Azula, as the area becomes partially inaccessible after his defeat. The Dragon Temple contains the Gravel Stone Seal and the Ancient Dragon Smithing Stone. The area rewards include the Dragoncrest Greatshield Talisman, the Haligdrake Talisman +2, and the Crucible Tree Armor set — all highly useful for Maliketh's fight. The nearby optional boss, the Godskin Duo, drops the Godskin Peeler and the Smithing Stone Miner's Bell Bearing (4) which allows unlimited purchase of Somber Smithing Stones. After Maliketh's defeat, Leyndell transforms, locking you out of some side quests, so ensure you have completed everything in the capital before crossing this point. The Dragonlord Placidusax optional boss in the same area is also accessible from Farum Azula and can be fought before or after Maliketh.
Blasphemous Claw Parry Timing Guide
The Blasphemous Claw, obtained by completing Recusant Bernahl's questline in Farum Azula, allows you to parry Maliketh's black blade attacks in phase 2. This is the single most powerful tool available against Maliketh, transforming one of the hardest boss phases into a manageable duel. The parry window begins the moment Maliketh's sword glows with golden light before an attack. Successful parries leave Maliketh stunned on the ground for approximately 4 seconds — enough time for 2-3 charged attacks or a fully charged weapon art. The Blasphemous Claw cannot parry his projectile attacks or the AOE ground slam, only his direct sword swings. Equip the claw in your off-hand slot and practice the timing by entering phase 2 with the sole objective of landing three consecutive parries.
The most reliable parry opportunities are Maliketh's three-hit combo where he swings from right to left, then left to right, then delivers an overhead slam — parry the third hit. His leaping slash where he jumps high and descends with the black blade is also parryable, with a generous window during the descent. Avoid attempting to parry his quick recovery slashes after AOE attacks, as the timing is much tighter. The Blasphemous Claw requires 14 Dexterity to wield and weighs 2.0 units. If you missed Bernahl's quest, you can still defeat Maliketh using traditional methods, but the parry strategy reduces the fight from one of the hardest in the game to one of the most satisfying. Equip the Dagger Talisman to increase critical damage during the parry stun window, and the Assassin's Crimson Dagger to restore HP on critical hits.
Destined Death Mechanic — What It Means for Gameplay
Destined Death is the fundamental force that Maliketh wields, originally sealed within the Rune of Death and later within Maliketh's own flesh. In gameplay terms, Destined Death reduces your maximum HP by approximately 10% per hit, with the reduced portion appearing as a grayed-out segment on your health bar. This HP reduction cannot be restored with Crimson Tears or any healing item — the only way to recover the lost maximum HP is to avoid being hit for approximately 15 seconds or to die and respawn. This mechanic makes extended fights against Maliketh progressively more punishing, as each mistake permanently reduces your survivability within that attempt. The effect stacks, meaning three consecutive hits leave you with roughly 70% of your maximum HP, making every subsequent hit more threatening.
Countering Destined Death requires a fundamentally different approach than other boss fights. The Crimsonwhorl Bubbletear in your Physick Flask converts all incoming damage to HP recovery for 15 seconds, which completely prevents the HP reduction effect. The Opaline Bubbletear provides a one-time damage negation shield that can absorb one hit entirely, preventing the HP loss. Bestial Vitality, a low-cost incantation requiring 12 Faith, provides continuous HP regeneration over 15 seconds that can offset some of the chip damage from non-Destined Death attacks. The Taker's Cameo talisman restores HP on enemy kills, useful for clearing the Beastmen before the fight to enter at full HP. The most important strategy is to recognize that Maliketh's phase 2 is designed for aggressive play — staying close reduces the number of ranged attacks he uses, and his low poise means two charged heavies often create a stance break that interrupts his combos. The longer the fight goes, the more cumulative HP reduction you suffer, making aggressive play not just a preference but a survival requirement.
Pillar positioning is another critical survival strategy against Maliketh. The arena contains several broken pillars that can block his projectile attacks and provide brief respite from his aggressive combos. Use the pillars to create distance when you need to heal or reapply buffs — circle the pillar to keep it between you and Maliketh while drinking a flask. However, be aware that Maliketh's Destined Death sword swings can clip through thinner pillars, so never assume full cover. The pillars are most effective against his Beast's Claw projectile in phase 1 and his ranged dagger throws in phase 2. In phase 1, the Beast Clergyman's Rock Sling attack can be dodged by sprinting perpendicular rather than rolling. The pillars in phase 1 are also excellent for breaking line of sight during his AOE explosion wind-up, giving you extra time to escape the blast radius.